Ever since first running a Wordpress server from my home, I installed fail2ban to protect against bruteforce attacks and DoS attacks. I thought everything was working as it should, but this seemed to not be the case anymore. I ran the fail2ban-client command to see how it was doing, and I quickly got the “Dude do you even have it running” response. Running the
systemctl status fail2ban.service
command showed me that no … no in fact it wasn’t running. There was something wrong with the config file.
I didn’t want to fuss around with the config file so I simply deleted /etc/fail2ban folder from the system, reinstalled, and started over.
I suspect that it probably hasn’t been working for a while now. Perhaps migration from Apache to Nginx messed something up, but it’s easier to nuke and pave and try again in my home-lab setting.
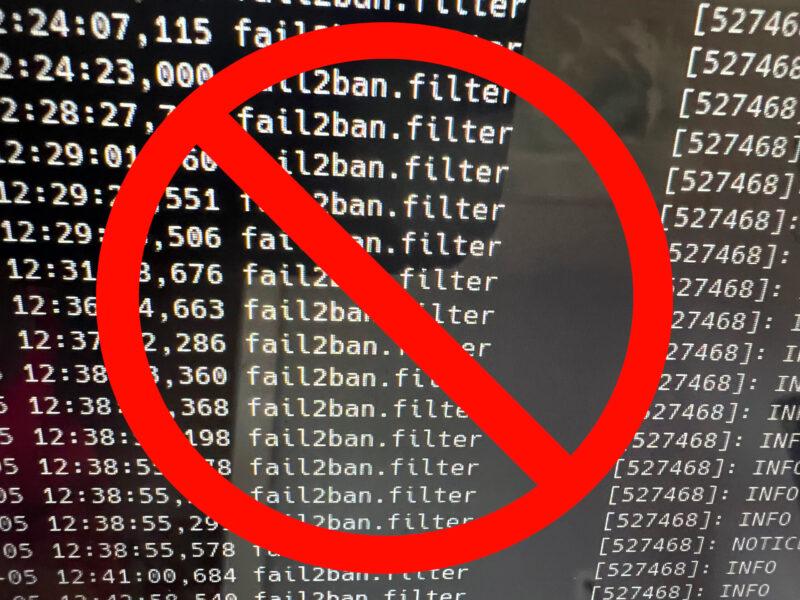
What does fail2ban do?
![]()
My Setup
I first create a new jail.local file.
sudo nano /etc/fail2ban/jail.local
In this file, I describe “jails” that I want to use. For example:
[nginx-404]
    enabled    = true
    port       = http,https
    filter     = nginx-404
    action     = iptables-allports
    logpath    = %(nginx_access_log)s
Now with this jail described, I need to create a filter that defines this jail.
sudo nano /etc/fail2ban/filter.d/nginx-404.conf
[Definition]
    failregex   = ^<HOST> -.*"(GET|POST|HEAD).*HTTP.*" 404
    ignoreregex =
This definition simply (or magically) uses regular expression to match any 404 pages found in the nginx access logs. Once I save this file, I then can test it by running
sudo fail2ban-regex /var/log/nginx/access.log /etc/fail2ban/filter.d/nginx-404.conf
Since everything looks like it’ll work as expected, we can finally run
sudo fail2ban-client restart
to activate the jail. And with that, my jail is running and waiting to throw any offending IP from Australia into a banned list!
While searching through the internet looking for other useful jails, I came across this one by github user mitchellkrogza. This jail will block IPs that are running bots that run through known web vulnerabilities. I also included this into my setup. w00Tw00T!
Here is the whole of my jail.local file.
[DEFAULT]
   bantime         = 5d
   maxretry        = 3
   ignoreip        = 10.10.10.1/24

[nginx-403]
   enabled         = true
   port            = http,https
   filter          = nginx-403
   action          = iptables-allports
   logpath         = %(nginx_access_log)s

[nginx-404]
   enabled         = true
   port            = http,https
   filter          = nginx-404
   action          = iptables-allports
   logpath         = %(nginx_access_log)s

[nginx-bad-request]
   enabled         = true
   port            = http,https
   logpath         = %(nginx_access_log)s

[nginx-botsearch]
   enabled         = true
   port            = http,https
   logpath         = %(nginx_error_log)s

[nginx-http-auth]
   enabled         = true
   port            = http,https
   logpath         = %(nginx_error_log)s

[nginx-limit-req]
   enabled         = true
   port            = http,https
   logpath         = %(nginx_error_log)s

[nginx-noagent]
   enabled         = true
   port            = http,https
   filter          = nginx-noagent
   action          = iptables-allports
   logpath         = %(nginx_access_log)s

[nginx-noproxy]
   enabled         = true
   action          = iptables-allports
   filter          = nginx-noproxy
   logpath         = %(nginx_access_log)s

[nginx-noscript]
   enabled         = true
   action          = iptables-allports
   filter          = nginx-noscript
   logpath         = %(nginx_access_log)s

[nginx-no-x-spam]
   enabled         = true
   filter          = nginx-no-x-spam
   action          = iptables-allports
   logpath         = %(nginx_access_log)s

[php-url-fopen]
   enable          = true
   port            = http,https
   logpath         = %(nginx_access_log)s

[webexploits]
   enabled         = true
   logpath         = %(nginx_access_log)s
   filter          = webexploits
   port            = http,https
   maxretry        = 1
And wouldn’t you know it?! I got my first banned IP! And now I’m looking at you Redmond, Washington… we all know who you are!
Finally, one more jail to add to my setup is one that helps protects against bruteforce attacks. We can achieve this by figuring out which log entry reflects a failed login attempt.
A failed attempt looks like this:
POST /wp-login.php HTTP/1.1" 200
While a successful attempt looks like this:
POST /wp-login.php HTTP/1.1" 302
When you log into Wordpress, it’ll redirect you to the admin page thus the 302 (redirect) code. Our Jail will therefore be defined like this:
[Definition]
failregex     = ^<HOST> .* "POST /wp-login.php HTTP.* 200
ignoreregex   =
Now any time someone makes a failed attempt it’ll be noticed by fail2ban. I made fail2ban ban any IP address that makes a failed attempt to login after only 1 time.
For most people this might not be a smart thing to do since you could accidentally lock yourself out if you made a mistake logging in and your outside of your ‘ignored’ IP address. But for me, it’s fine taking this risk seeing how I use Bitwarden for my passwords and can always get back into my LAN through Tailscale if needed.